How to Set Up a Separate Wi-Fi Network for Smart Home Devices as a Renter (2026)
Quick Answer: Yes, you should put your smart home devices on a separate Wi-Fi network from your laptop and phone. If a cheap smart plug gets hacked, isolation keeps the attacker away from your banking apps and personal files. As a renter you have three ways to do it: enable your router’s guest network if you can log in, plug in a small travel router to create your own network, or repurpose an old router. None of them require drilling, rewiring, or landlord permission.
Why Your Smart Home Deserves Its Own Network
Every smart device you add is a small computer on your network. The problem is that most of them are built to be cheap, not secure. Budget smart plugs, bulbs, and cameras often ship with weak default passwords, get firmware updates rarely or never, and sometimes send data to servers you have never heard of.
Security researchers have documented this for years. The U.S. Federal Trade Commission has warned about IoT devices exposing attack surfaces, and Cisco’s threat research describes how easily compromised IoT devices get recruited into botnets. The technical term for the danger is “lateral movement”: an attacker breaks into one weak device, then hops across your network to the devices that actually matter, like the laptop where you do online banking.
Network segmentation solves this with a simple idea. Put all your smart home gadgets on one Wi-Fi network, and keep your laptop, phone, and tablet on another. If someone compromises a $12 smart plug, they land in a walled garden. They cannot see your computer. They cannot reach your files. The attack stops at the fence.
This is standard advice in every home networking guide. The catch is that almost all of those guides assume you own your router and can log into its admin panel. Renters often cannot.
The Renter Problem: Advice That Assumes You Own the Router
Here is the part most guides skip. As a renter, you may be dealing with one of these situations:
You have your own router, but it came from the ISP. Many internet providers hand you a gateway box and never give you the admin password, or they lock down the settings page. You pay for the internet, but you do not fully control the equipment.
The building provides the Wi-Fi. Some apartment complexes include internet in the rent. Everyone shares one big network, and you have zero access to any router settings. Your neighbor’s laptop is technically on the same network as your smart camera.
Your landlord set everything up. The router sits in a locked utility closet, or your landlord configured it years ago and lost the password. Asking for changes means an awkward conversation.
None of these situations stop you from segmenting your network. They just mean you need renter-friendly methods instead of the standard “log into your router” tutorial. Here are three, from easiest to most capable.
Method 1: Turn On Your Router’s Guest Network (If You Can Log In)
If you have the admin password for your router, this is the fastest path. Almost every router sold in the last decade has a guest network feature built in. It creates a second Wi-Fi network with its own name and password, and most routers isolate guest devices from your main network automatically.
The steps look like this on most routers:
- Log into your router’s admin page (usually an address like 192.168.1.1, printed on the router label).
- Find the wireless settings and look for “Guest Network” or “Guest Wi-Fi.”
- Enable it, give it a name like “Apartment-IoT,” and set a strong password that differs from your main Wi-Fi password.
- Check for an option like “allow guests to see each other” and turn it off if you want maximum isolation.
- Move every smart device (plugs, bulbs, cameras, speakers) to the new network. Keep your laptop and phone on the main one.
One honest limitation: some ISP-provided gateways offer a guest network but do not truly isolate it. If your router’s guest mode still lets devices see each other, it is better than nothing but not real segmentation. When your lease is up, just factory-reset the router or turn the guest network off. Nothing permanent changes.
Method 2: Use a Travel Router to Build Your Own Network (No Permission Needed)
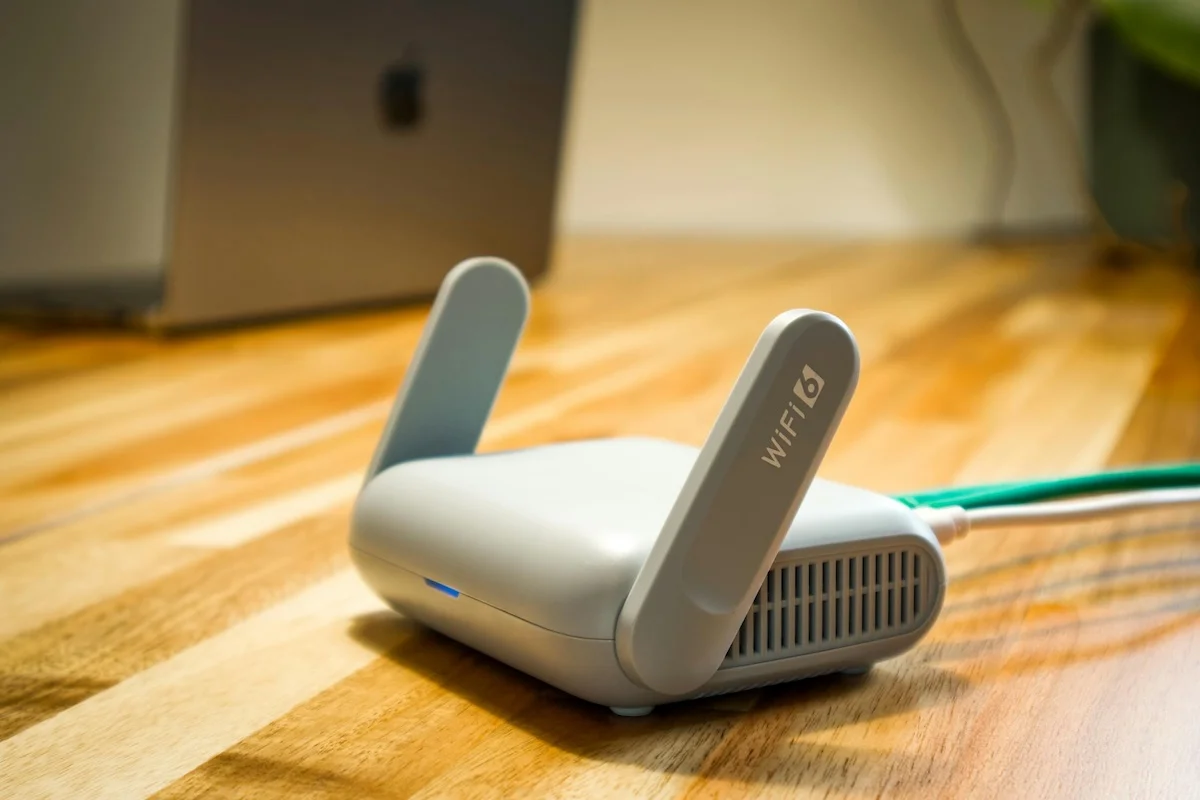
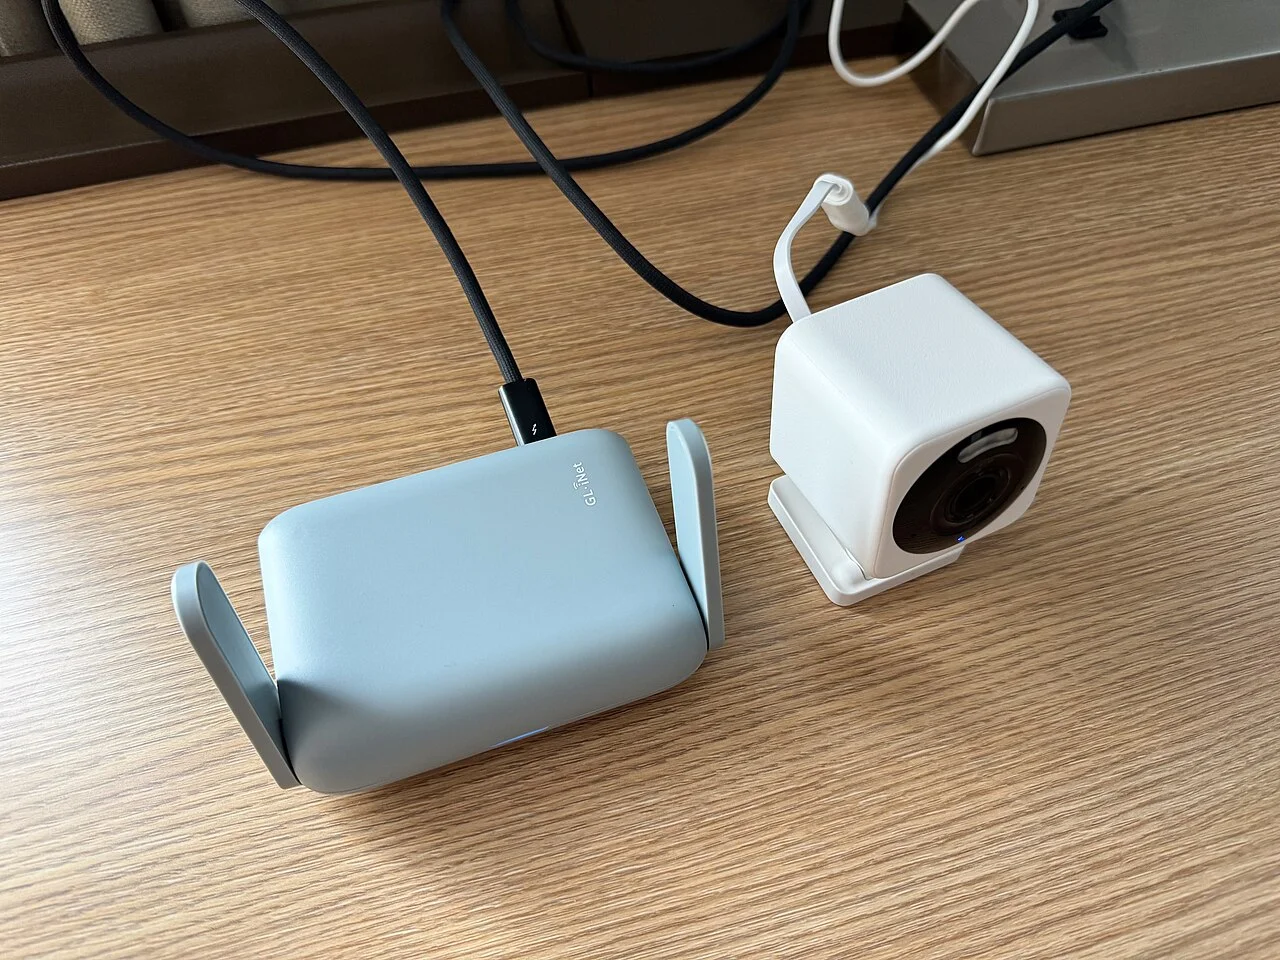
This is the method made for renters. A travel router is a tiny, pocket-sized router that takes an existing internet connection (building Wi-Fi or an ethernet jack) and creates your own private Wi-Fi network on top of it. Your landlord’s equipment stays exactly as it is. You never log into anything that is not yours.
The classic pick in renter and traveler communities is GL.iNet’s pocket routers, with models starting around $20. You plug it in, connect it once to the building Wi-Fi or wall ethernet, and it broadcasts your own network name with your own password. Every device you connect to it sits behind its own firewall, separated from the building’s shared network.
Why this is powerful for renters:
- It works on shared building Wi-Fi. Even if fifty neighbors share one network, your devices live in their own walled garden.
- It moves with you. Unplug it on moving day and your whole smart home network comes along. No reconfiguration at the next apartment.
- It needs no landlord involvement. You are not changing their equipment or settings.
Two tradeoffs to know about. First, this setup creates “double NAT” (your router behind their router). For smart home gadgets that talk to cloud servers, this is completely fine. It can complicate things like port forwarding or some online games, but neither matters for a smart plug. Second, your travel router’s speed is limited by the building connection feeding it. If the building Wi-Fi is slow, your private network will be too.
Setup takes about fifteen minutes: power it on, open its setup page on your phone, pick the building Wi-Fi or plug in ethernet, set your network name and password, then move your smart devices over.
Method 3: Repurpose an Old Router as Your IoT Network
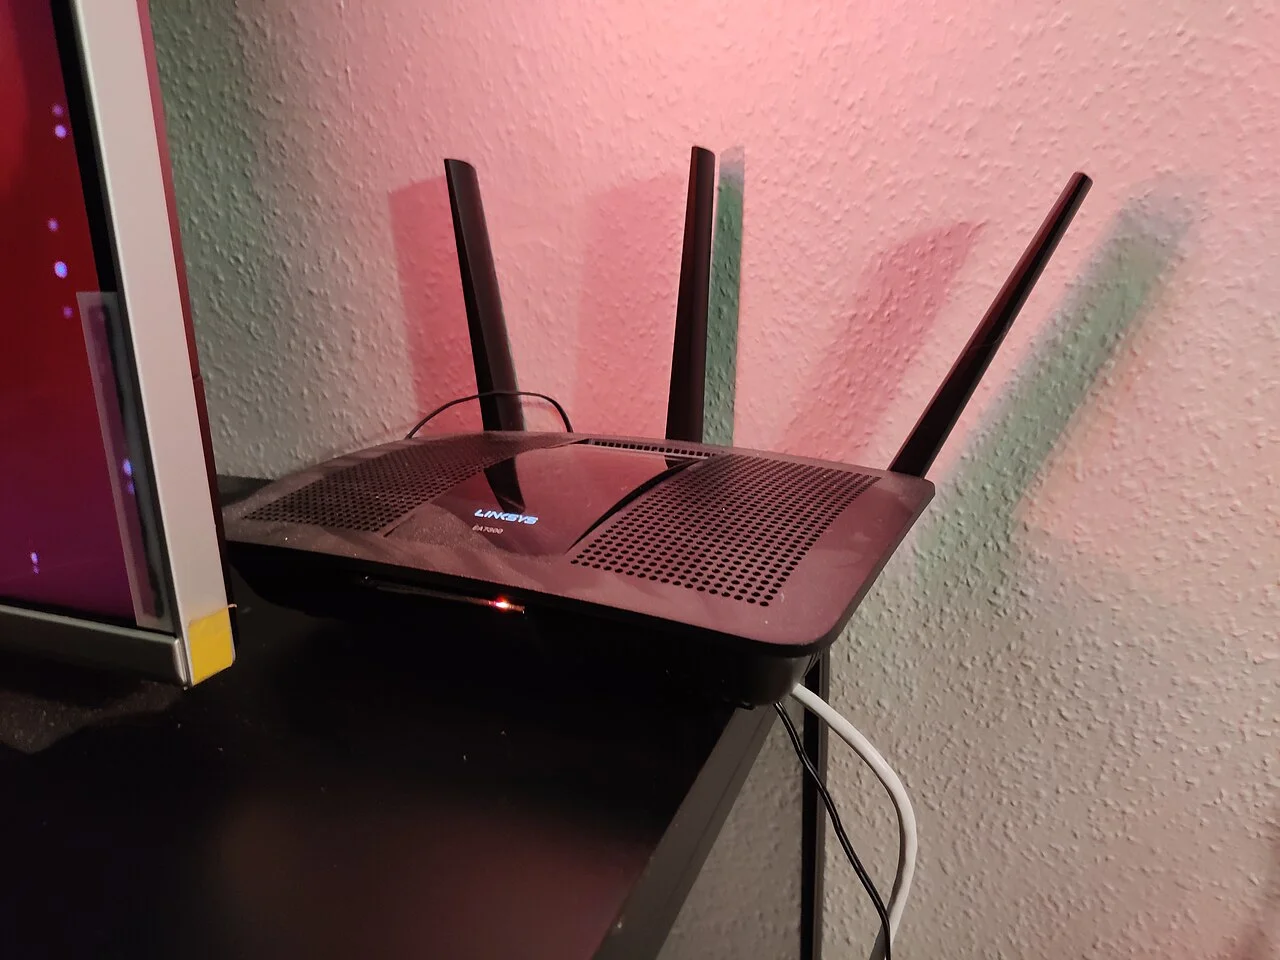
If you have an old router gathering dust in a closet, it can become your dedicated smart home network for free. Connect its WAN port to your main router (or to the building ethernet jack), give it a different network name, and connect all your IoT devices to it.
This achieves the same isolation as a travel router. The downsides are practical: old routers are bulky, use more power, and their security updates stopped years ago, which is ironic for a security project. A $20 travel router is usually the better buy. But if the budget is zero and the old router works, this method is legitimate.
One rule for this method: change the old router’s admin password and update its firmware if any update is still available. A router with the default “admin/admin” login protecting your security setup defeats the purpose.
What Goes Where: The Simple Split
Once your second network is running, the rule is easy to remember. Anything that holds your personal life stays on the main network. Anything that is a gadget goes on the IoT network.
| Main network (your devices) | IoT network (gadgets) |
|---|---|
| Laptop and desktop | Smart plugs and bulbs |
| Phone and tablet | Security cameras |
| Work computer | Video doorbell |
| NAS or shared drives | Smart speakers |
| Robot vacuum | |
| Smart thermostat |
Guests and visitors? Put them on the IoT network too, or the guest network if your router has a separate one. Visitors do not need access to your laptop’s shared folders.
What Breaks When You Split (and How to Fix It)
Honesty matters here, so let us cover what stops working nicely across two networks.
Casting and screen mirroring. Chromecast, AirPlay, and similar features find devices by scanning the local network. A Chromecast on your IoT network will not appear on your phone on the main network. The fix is simple: put streaming devices you cast to (Chromecast, Apple TV) on your main network with your phone, not on the IoT network. They are made by Google and Apple with real security teams, so this is a reasonable exception.
Apps that set up devices by discovery. Some gadget apps find new devices by scanning your Wi-Fi during setup. If your phone is on the main network and the gadget is on the IoT network, setup can fail. The workaround: temporarily join your phone to the IoT network during setup, finish the setup, then switch your phone back. You only do this once per device.
Local dashboards. If you run something like Home Assistant, it needs to see your devices. Put the Home Assistant box on the IoT network alongside them, or look into firewall rules that allow one specific device through. For most renters with a handful of gadgets, putting the hub on the IoT network is the whole solution.
None of these are dealbreakers. They are fifteen-minute fixes you do once.
Cameras Deserve Special Attention
If you own any smart cameras, they belong at the top of your isolation priority list. Cameras are the IoT devices with the most sensitive data (video of your home) and some of the worst security track records. Put every camera on the IoT network, change its default password, and check for firmware updates the day you install it.
This pairs naturally with choosing the right camera in the first place. Our guide to apartment security cameras covers renter-friendly picks, and if you are mounting one without drilling, the indoor camera mounting guide walks through no-damage options.
Leaving No Trace at Move-Out
Everything in this guide is reversible, which is the whole point for renters. Guest networks turn off with one toggle. Travel routers unplug and go in a box. An old repurposed router gets factory-reset. There is nothing for a landlord to find, nothing to patch, and nothing that risks your deposit. If you want a checklist for the bigger move-out picture, our complete starter guide covers taking the whole smart home with you.
FAQs
Should I put smart home devices on my guest network?
Yes, if your guest network truly isolates devices from your main network. Most modern routers do this by default. Put all IoT gadgets on the guest network and keep your laptop and phone on the main one. If your router’s guest mode does not isolate, use a travel router instead.
Can I create my own Wi-Fi network in an apartment?
Yes. A travel router (around $20) connects to your building’s Wi-Fi or an ethernet wall jack and broadcasts your own private network with your own password. It requires no changes to the landlord’s equipment and moves with you to your next apartment.
Does a separate network slow down my smart home?
No. Smart plugs, bulbs, and sensors use tiny amounts of data. Cameras use more, but a separate network does not make them slower; your internet speed is the limit either way. If anything, moving gadgets off your main network reduces congestion for your laptop.
What is double NAT, and should I worry about it?
Double NAT happens when your travel router sits behind another router (like your building’s). Your devices get two layers of address translation. For cloud-connected smart home gadgets, it works fine. It mainly affects port forwarding and some gaming scenarios, which most renters never need.
Do I need a separate network if I only have two smart devices?
It is still worth it, and it takes fifteen minutes. Security is about habits, not device counts. Setting up isolation now means every future gadget automatically lands in the safe zone.
For more on building a secure renter smart home from scratch, see our complete starter guide. For the broader reasoning behind network isolation, The Privacy Report’s network isolation guide cites the FTC and NIST research behind these recommendations.