How to Install an Outdoor Camera Without Drilling: 7 Renter-Friendly Methods (2026)
You want a camera watching your front door or parking spot. Your lease says no drilling, no screws, no “permanent alterations.” So the camera sits in its box while packages keep disappearing.
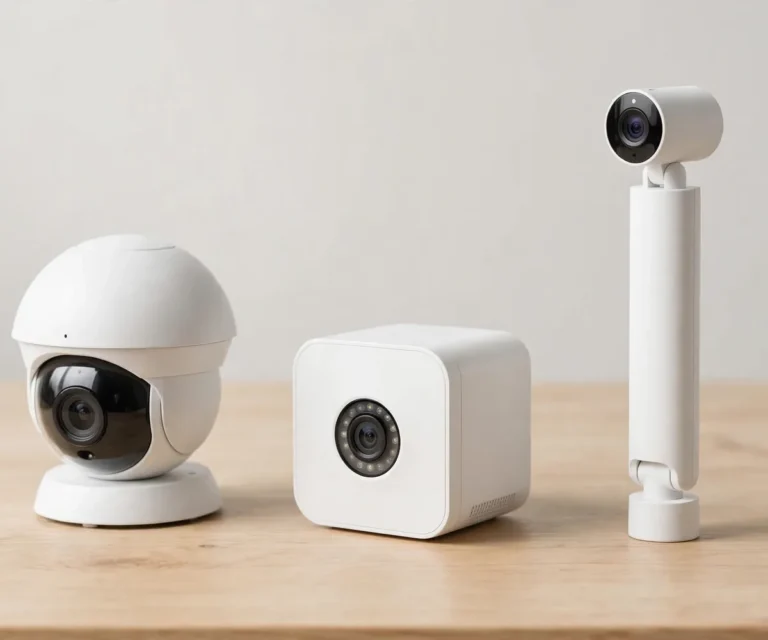
Here is the thing most guides skip: you do not need a drill at all. Renters have been mounting outdoor cameras for years with clips, magnets, straps, and adhesive. The trick is matching the method to your building, and picking a camera that does not need wires in the first place. This guide covers both.
Quick Answer
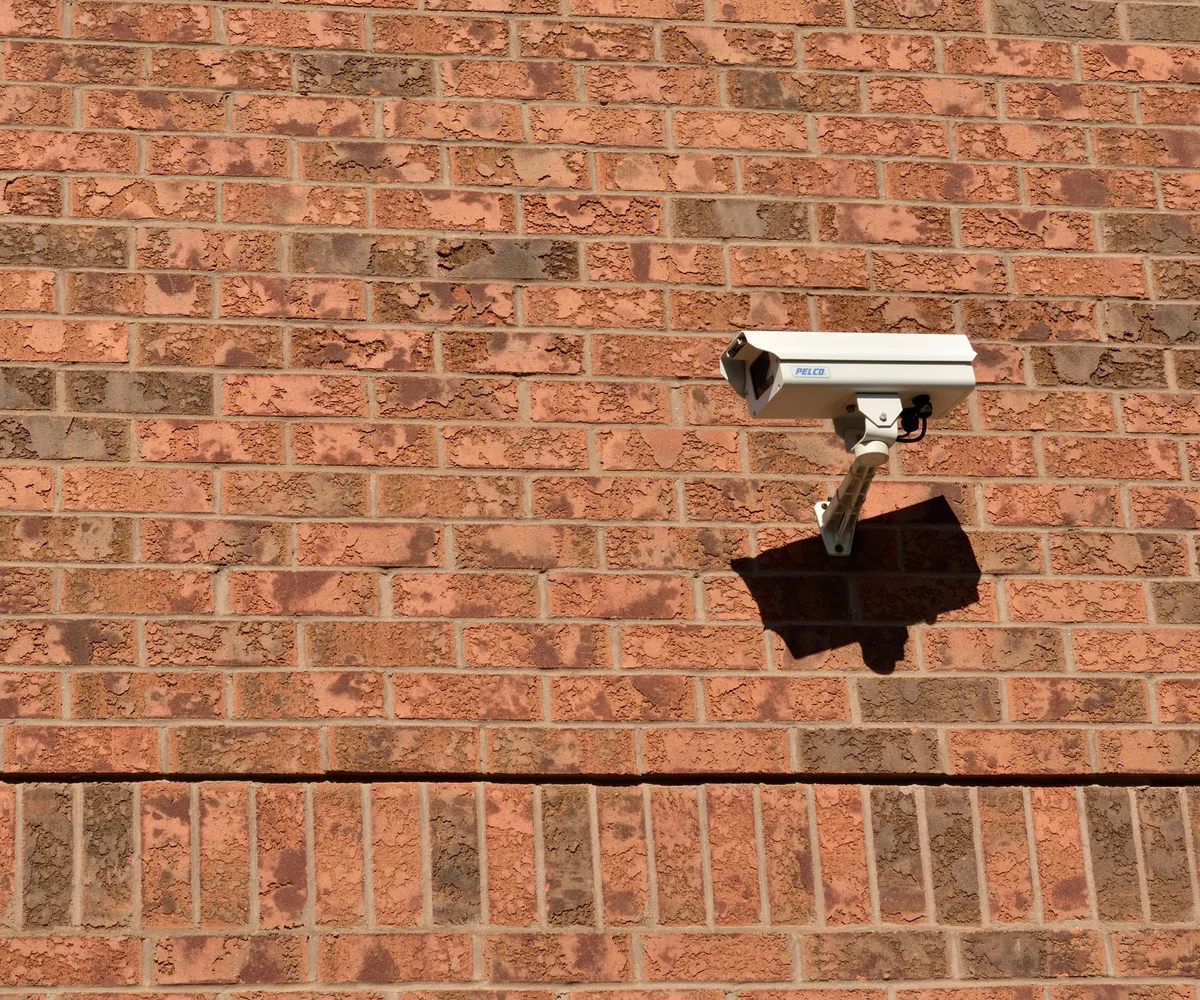
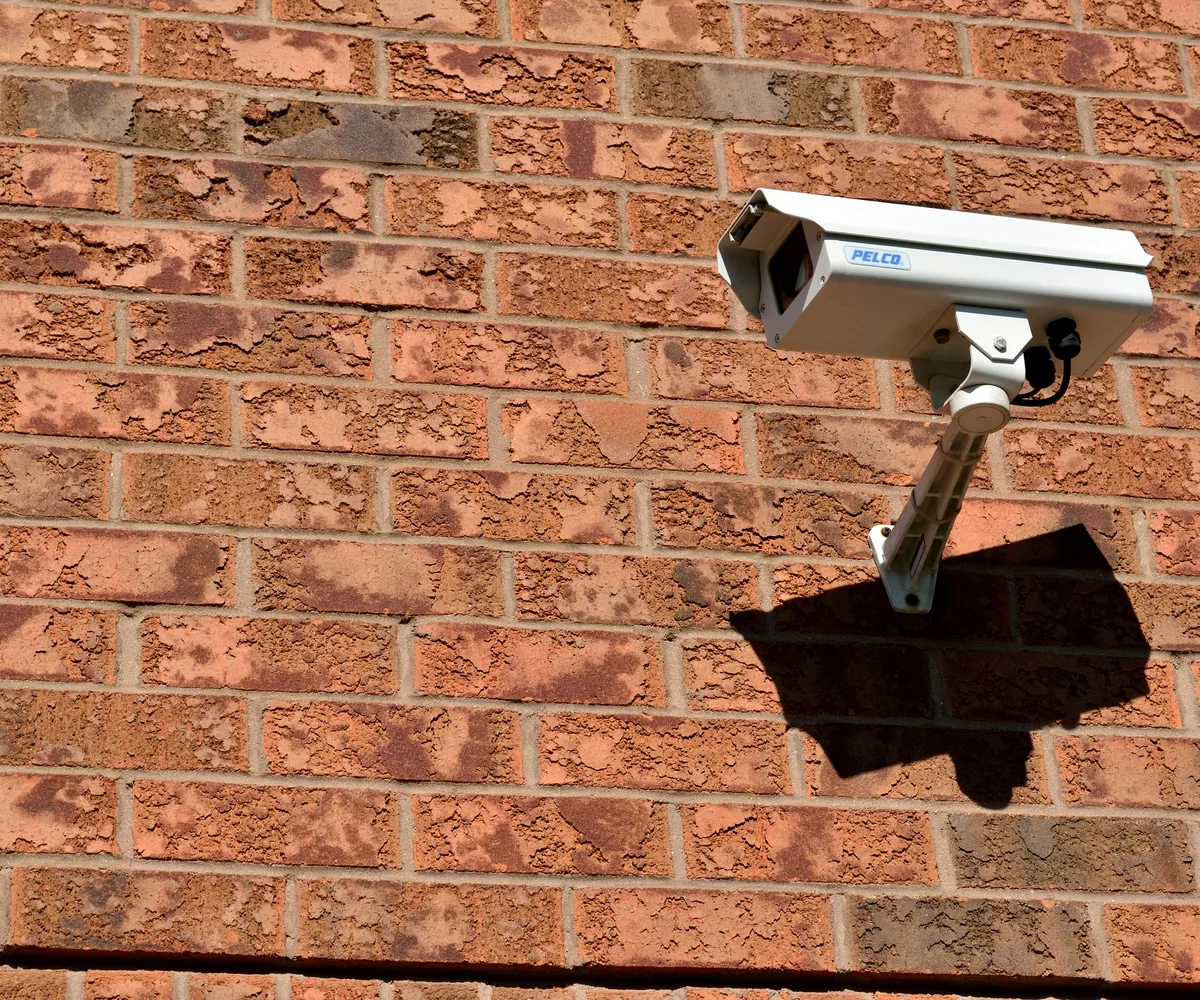
Yes, you can install an outdoor camera without drilling. The most reliable renter-friendly methods are vinyl siding clip mounts, gutter mounts, magnetic mounts on metal surfaces, heavy-duty outdoor adhesive strips, and strap or clamp mounts for fences and poles. Use a battery or solar-powered camera so you never have to run a power cable. Always check your lease first, because some landlords still want written permission for exterior cameras even when nothing gets drilled.
Before You Mount Anything: Two Decisions First
1. Pick a wire-free camera
This is the decision that makes everything else easy. A wired camera needs a cable run to an outlet, and that cable has to go through a wall, a window, or across your patio. A battery or solar-powered camera needs nothing. You charge the battery every few months or let a small solar panel top it up, and the camera talks to your Wi-Fi.
If you already own a wired camera, you can still use the methods below, but you will need to solve the power question separately, usually with a flat cable run under a door or window. For most renters, a battery or solar model is the simpler path. Our camera buying guide breaks down which wire-free models are worth it.
2. Check your lease (yes, even for no-drill)
No-drill does not always mean no-permission. Many leases treat anything attached to the building exterior as a modification, and some landlords get nervous about cameras pointing at shared spaces. A quick read of your lease takes five minutes. If it is unclear, a short written request protects you far more than asking forgiveness later. We built a free permission letter generator that writes that request for you in under a minute.
The 7 Methods
1. Vinyl siding clip mounts
If your rental has horizontal vinyl siding, this is the cleanest option there is. These small clips hook into the seam where two siding panels overlap. No adhesive, no screws, nothing touches the wall except the clip itself. Most have a standard quarter-inch camera thread on top, so your camera screws right on.
They only work on compatible horizontal lap siding. They will not grip vertical siding, cedar shake, or fiber-cement board. Check your siding profile before you buy.
Best for: rental houses and townhouses with vinyl siding.
2. Gutter mounts
Gutters are sturdy, already there, and usually in a great spot for watching a driveway or entry. Strap-style gutter mounts wrap around the gutter with an adjustable band and hold the camera above the roofline. Nothing gets drilled, and you can slide the mount along the gutter to find the best angle.
Make sure the strap is rated for your camera’s weight plus a little extra for wind. A camera that slowly slides down the gutter over a month is worse than no camera.
Best for: rental houses where you want a high, wide view.
3. Magnetic mounts
Got a steel surface? A garage door frame, a metal awning post, a steel balcony railing? A strong magnetic mount grabs it in seconds. This is the fastest method on the list and the easiest to reposition. You can test three different angles in five minutes and pick the winner.
Two honest limits. First, the surface has to actually be magnetic. Aluminum and most painted trim are not. Test with a fridge magnet before you buy anything. Second, magnets hold best for lighter cameras. A heavy camera on a small magnet is a bad combination in a windstorm.
Best for: metal railings, steel posts, garage frames, and anyone who wants to experiment with angles.
4. Heavy-duty outdoor adhesive strips
Outdoor-rated adhesive strips can hold a light camera on a flat, smooth surface like painted wood trim, a porch column, or smooth siding. Clean the surface first with rubbing alcohol, press firmly, and give the adhesive its full curing time before hanging the camera. Rushing this step is the number one reason adhesive mounts fail.
Here is the honest part: adhesive is the weakest method outdoors. Heat softens it, freezing weakens it, and direct rain works its way under the edges over time. It works best in sheltered spots, under an eave or a covered porch, with a light camera. For exposed locations, pick one of the mechanical methods above instead.
Best for: covered porches and sheltered spots with light cameras.
5. Strap and clamp mounts for fences and poles
A fence post, a balcony railing, or a downspout makes a perfect camera pole if you have the right strap. Band-clamp mounts wrap around round or square posts and tighten down without a single hole. They are rock solid, easy to remove, and they put the camera exactly where you want it.
For renters with a ground-floor patio or a shared fence line, this is often the best answer. Mount near the top of the post, six to eight feet up, with a slight downward tilt. That height keeps the camera out of easy reach while still catching faces clearly.
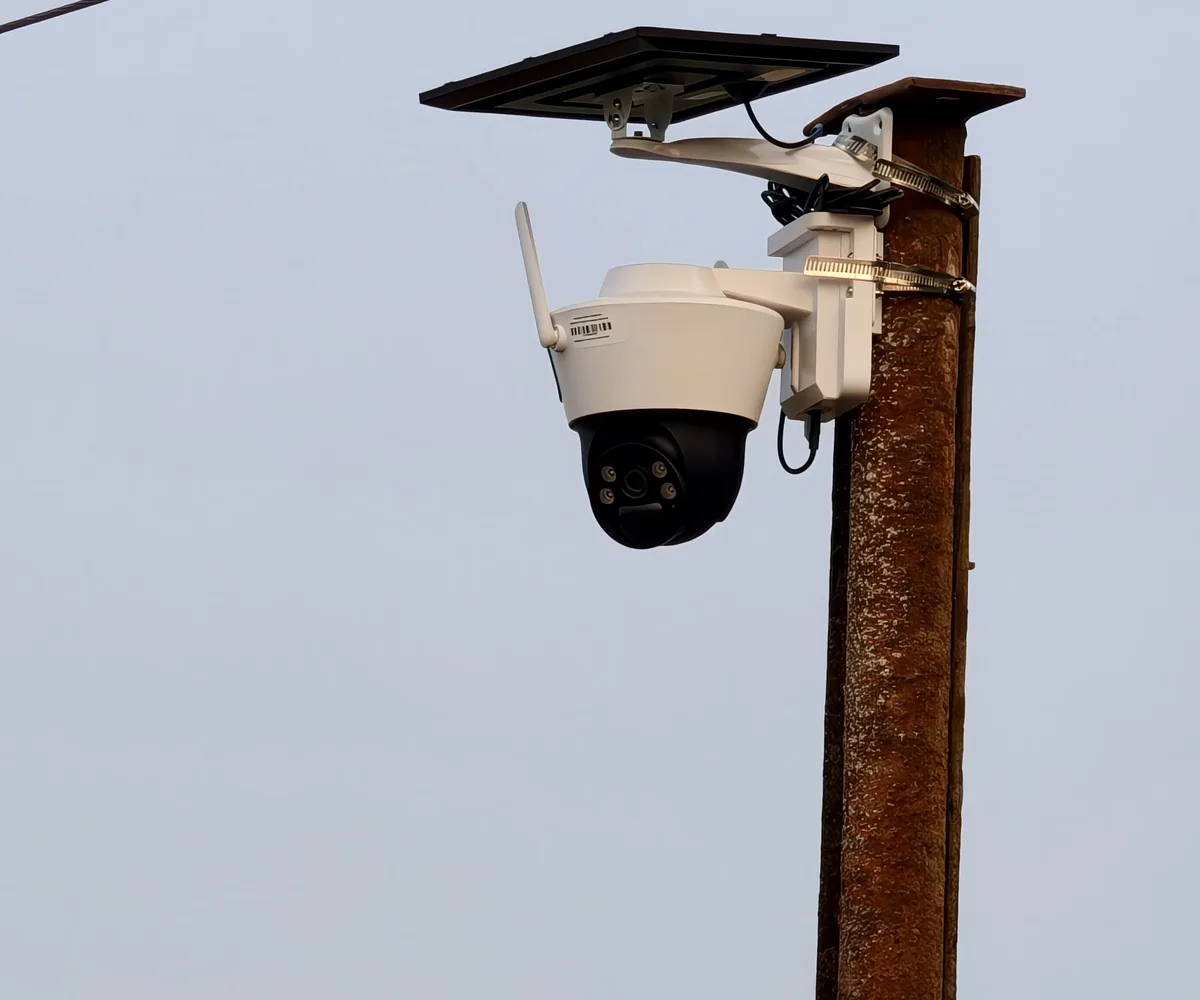
Best for: fences, railings, downspouts, and patio posts.
6. Freestanding placement
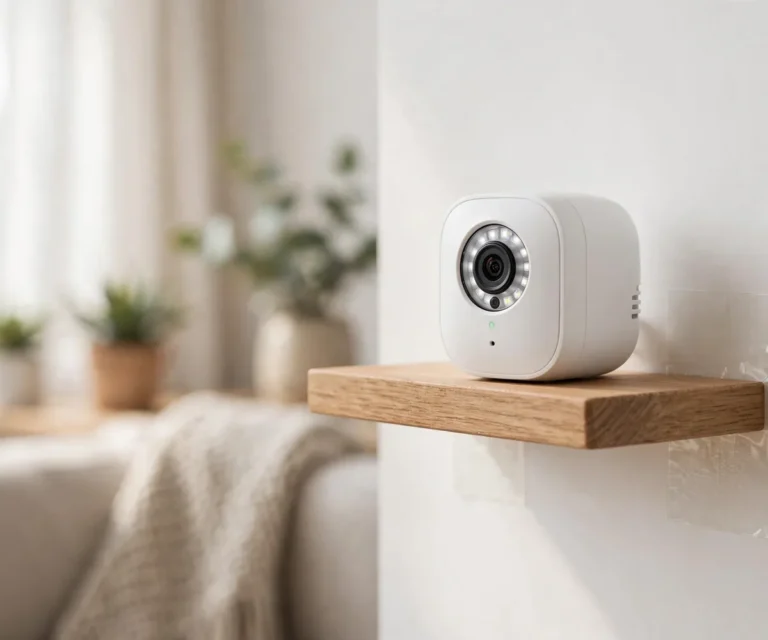
Sometimes the best mount is no mount. Many outdoor cameras have a flat base that sits happily on a balcony railing cap, an outdoor shelf, a windowsill facing out, or a sturdy patio table. Zero installation, zero trace, and you can bring the camera inside during a storm in ten seconds.
The tradeoff is height and stability. A camera at table level sees less than one mounted eight feet up, and a strong gust can tip a light camera off a narrow ledge. Wedge it somewhere stable and sheltered and it works fine.
Best for: balconies, patios, and anyone who wants zero commitment.
7. Window suction mounts
A heavy-duty suction cup on the inside of a window lets a small camera watch the outside through the glass. Nothing touches the building exterior at all, which makes this the most landlord-proof method on the list. It is also the easiest to set up: clean the glass, press, lock.
It has real limits. Night vision through glass is poor because the infrared LEDs reflect off the window and white out the image. If night recording matters to you, turn the camera’s IR off and rely on a porch light, or pick a different method. Suction also needs smooth, clean glass and can lose grip over time, so check it monthly.
Best for: watching a parking spot or entry through a window, daytime coverage.
A Window Camera Worth a Look: The Eufy E10
The Eufy Window Camera E10 is a purpose-built version of the window method above, and it is the strongest renter-friendly window camera you can buy right now at $79.99 on eufy.com and Amazon. It sticks to the inside of your window with a reusable sticker mount and watches the outside through the glass, so nothing touches the building exterior at all. A 25-degree tilt dial lets you angle the view, and the 2.5K camera records around the clock to a microSD card up to 256 GB with no subscription required. It also has color night vision and AI alerts for people, vehicles, and pets, and it works with Google Home and Alexa.
The honest limits are the same ones this method always has. The E10 is USB-C wired with no battery, so you need an outlet within about 10 feet of the window. The microphone sits behind the glass, so it only picks up loud noises outside. There is no HomeKit support, and it pairs with the HomeBase S380 rather than the older S280. Night vision through glass is still a weak point for any window camera because infrared light reflects off the window, so a porch light helps more than any setting.
If $79.99 is more than you want to spend on a window camera, the Wyze Window Cam at $34.98 is the budget alternative. It is also wired and records in 1080p rather than 2.5K, so you give up resolution for the lower price.
If you want 4K instead of 2.5K, the Baseus PrimeSentinel W1 is the step-up option at $100 list, often on sale under $80, with a magnetic frame and microSD storage and no subscription. CNET calls it its favorite window camera so far.
A note on light: a camera sees much more at night when the area is lit, and that is where an LED motion sensor light earns its place. A motion sensor light over the door or driveway turns on only when something moves, so it does not run all night, and it gives any camera a clear view without drilling. If your entryway is dark, add the light first and judge the camera’s night footage after.
Which Method Fits Your Rental?
| Your situation | Start with |
|---|---|
| Rental house with vinyl siding | Siding clip mount |
| Rental house with gutters | Gutter strap mount |
| Apartment balcony with metal railing | Magnetic mount or railing clamp |
| Apartment balcony, no metal | Freestanding on the railing cap or a shelf |
| Ground-floor patio with fence | Fence post strap mount |
| Covered porch | Outdoor adhesive strips (light camera) |
| Strict landlord, zero exterior contact | Window suction mount (inside the glass) |
Three Honest Tradeoffs
Theft. A camera held on with a clip or magnet is easier to steal than one bolted to a wall. Mount as high as you reasonably can, and pick a camera with a tamper alarm if your area makes you nervous about it.
Weather. Adhesive and suction weaken over time outdoors. Check every mount once a month, the same way you would check a smoke detector battery. Tighten straps after the first big storm.
Wi-Fi range. Outdoor cameras sit farther from your router than indoor ones. If your camera keeps disconnecting, the mount is not the problem. A Wi-Fi extender near the closest window usually fixes it.
For a deeper dive into mount hardware types, MountGuys has a thorough guide to outdoor security camera mounts covering gutters, siding, and poles.
FAQs
Can you mount a security camera without drilling?
Yes. Siding clips, gutter straps, magnetic mounts, outdoor adhesive strips, fence clamps, freestanding placement, and window suction mounts all hold a camera with zero holes. Match the method to your building surface and use a battery or solar camera so no power cable is needed.
How do renters install outdoor cameras without violating the lease?
Use a no-drill method and check the lease first. Many leases still require written permission for exterior cameras even without drilling. When in doubt, ask in writing. Our free permission letter generator drafts the request for you.
Will adhesive strips hold a security camera outside?
Outdoor-rated strips can hold a light camera in a sheltered spot like a covered porch, but heat, freezing, and rain weaken adhesive over time. For exposed locations, a mechanical method like a siding clip, gutter strap, or fence clamp is more reliable.
How high should I mount an outdoor camera?
Around eight to nine feet is the sweet spot. High enough to stay out of easy reach, low enough to capture faces clearly. Mount it with a slight downward tilt of about fifteen to thirty degrees.
Can I point my camera at a shared parking lot or walkway?
Generally yes for areas you have a legitimate reason to watch, like your own parking spot or entry path. Avoid pointing directly into a neighbor’s windows. If your building has shared-space camera rules, follow those, and check local laws if you record audio.
The Bottom Line
You do not need permission to drill when you never drill at all. Pick a battery or solar camera, match one of these seven methods to your building, and check your lease before anything goes on the exterior. Start with the least permanent option that gives you the view you need. You can always upgrade the mount later. You cannot un-drill a hole.
If you are also covering the inside of your place, our guide to mounting an indoor camera without drilling uses the same no-damage philosophy room by room. And the complete starter guide ties the whole renter-friendly setup together.