
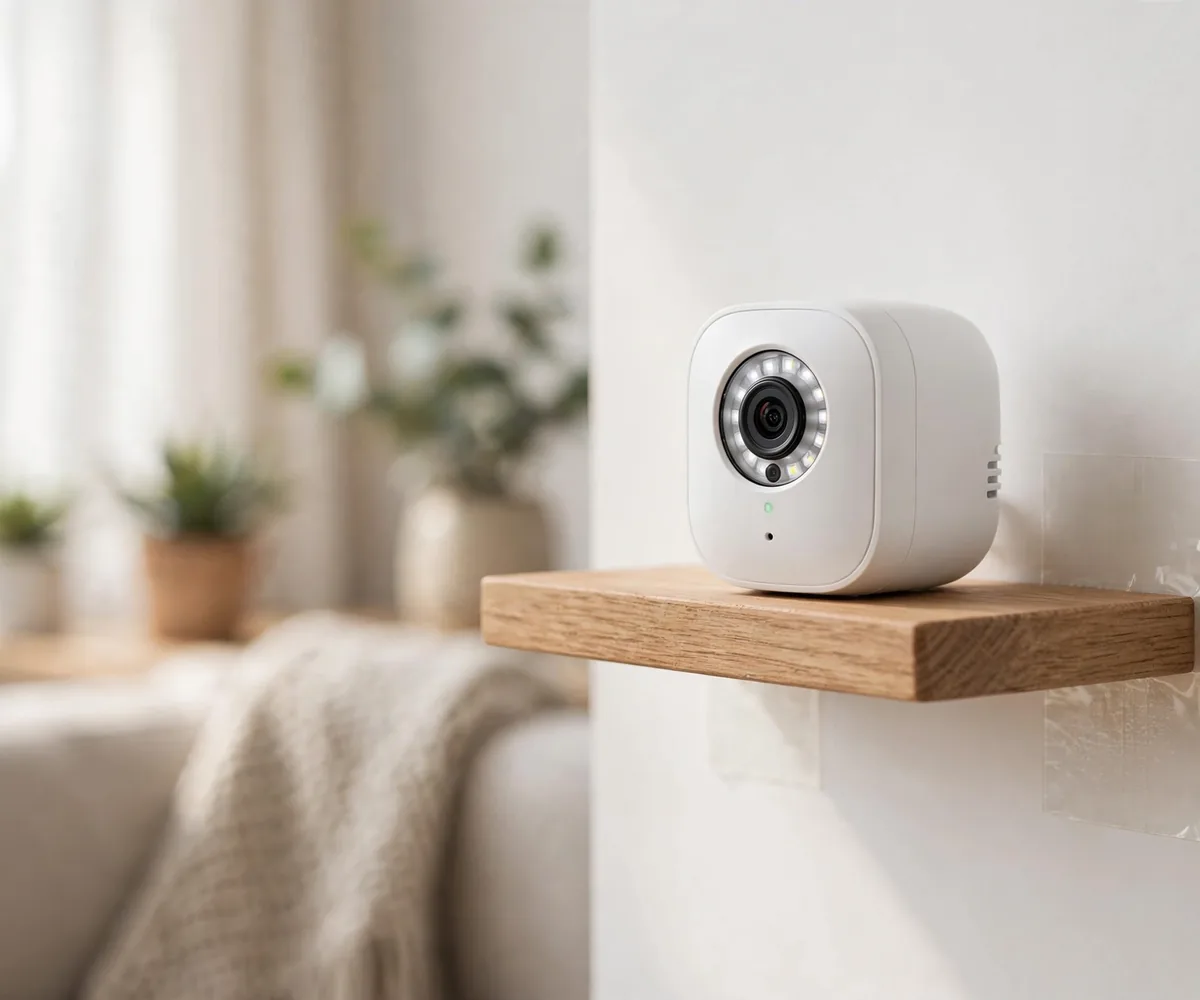
How to Mount an Indoor Camera Without Drilling
Want to mount an indoor camera without drilling? Your lease wants zero holes in the walls, and that’s fine.
Drilling is the default advice everywhere: “just put a screw in the wall.” For renters, that default is wrong. A single screw hole can cost you part of your security deposit, and in strict leases, even “tiny nail holes” count as damage.
The good news: indoor cameras are small, light, and flexible. There are at least six solid ways to mount one without touching a drill. Let’s go through all of them.
New here? Start with our Renter-Friendly Smart Home: The Complete Starter Guide. This article is part of that series
Why “No-Drill” Is Non-Negotiable for Renters
Three reasons, short and sweet:
- Your deposit. Landlords can deduct wall repairs from your security deposit. Patching and repainting one wall can cost more than the camera itself.
- Your lease. Many leases explicitly ban drilling, nailing, or mounting anything to walls. Violating it gives your landlord leverage you don’t want them to have.
- Your move. Anything you screw in, you must unscrew, patch, sand, and paint later. No-drill mounts come down in seconds.
Rule of thumb: if removing it takes longer than installing it, you’re doing it wrong.
6 Ways to Mount an Indoor Camera Without Drilling
Pick the method that fits your room. You probably already own half of what you need.
1. Just Set It on a Shelf (The Zero-Effort Method)
Most indoor cameras have a flat base and are designed to sit on a surface. A bookshelf, TV stand, dresser, or kitchen counter at the right height is a perfectly good “mount.”
Best for: living rooms and bedrooms where a shelf already faces the area you want to watch.
Watch out for: low shelves give a limited view and are easy to knock over: go at least waist-high, ideally higher.
2. Adhesive Mounts and Strips
Heavy-duty adhesive strips (the 3M Command style) can hold a lightweight camera on a wall, the side of a cabinet, or under a shelf. Use strips rated for at least double your camera’s weight.
Best for: smooth, clean surfaces, painted drywall, wood, tile, glass.
Watch out for: textured walls and wallpaper, adhesive fails on both. And when you move, remove strips slowly with a hairdryer warming the adhesive; yank them off fast and you’ll take paint with them.
3. Tension Rod + Clamp Mount
A spring-loaded tension rod wedged between two walls, inside a doorframe, or across an alcove gives you a “shelf in mid-air.” Clamp the camera (or a small shelf holding the camera) to the rod.
Best for: hallways, doorways, and narrow spaces where you want a high viewing angle.
Watch out for: check the rod regularly, temperature changes can loosen the tension over months.
4. Suction-Cup Window Mounts
If you want your indoor camera to watch the entryway or parking area through a window, a suction-cup mount sticks the camera right to the glass. No holes, great view.
Best for: ground-floor apartments where the front door or parking spot is visible from a window.
Watch out for: two things. First, glass gets condensation, wipe the spot clean before mounting or the cup will slide. Second, at night the camera’s infrared LEDs reflect off the glass and blind the camera. Fix: turn off night vision and rely on outdoor lighting, or mount the camera outside the glass line of sight.
5. Magnetic Mounts
Got a metal surface? Fridge, metal shelving unit, steel doorframe: a magnetic mount or even a strong magnetic hook holds a small camera rock-steady and repositions in one second.
Best for: kitchens (fridge side!), utility areas, and anywhere with exposed metal.
Watch out for: check the magnet strength against your camera’s weight before trusting it overnight.
6. Tripods and Mini Stands
A small tripod, the flexible-leg kind, wraps around curtain rods, shelf edges, and bedposts, or just stands on a table. Many indoor cameras have a standard tripod thread underneath; if not, a cheap universal adapter costs a few dollars.
Best for: anyone who wants to experiment with angles, or who moves the camera between rooms.
Watch out for: flexible tripods sag over time under heavier cameras. For a permanent spot, a rigid mini-tripod is better.
Choosing the Right Camera for a No-Drill Setup
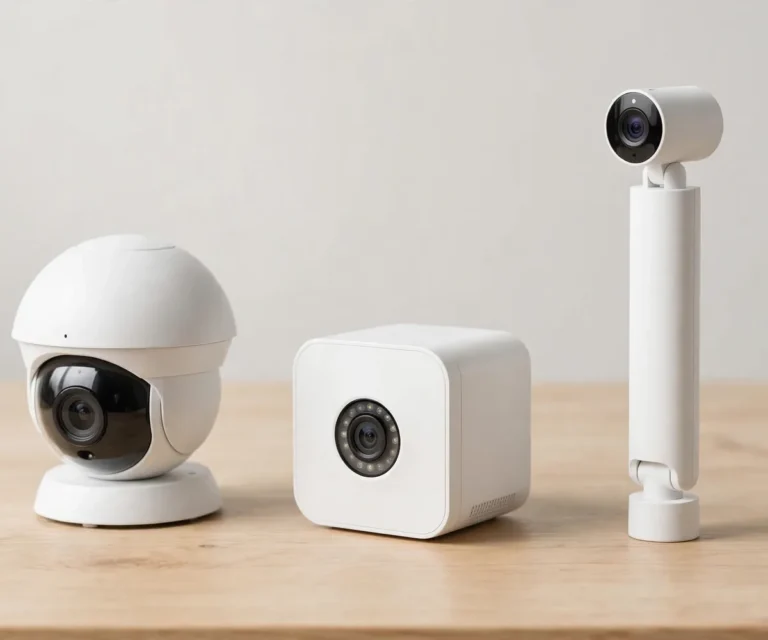
Not every indoor camera is equally renter-friendly. When shopping, prioritize:
- Lightweight. Under ~200g (7 oz) opens up adhesive and magnetic options. Heavy cameras limit you to shelves and tripods.
- Flat base or tripod thread. If it can’t sit flat or screw onto a standard mount, you’ll fight it the whole time.
- Battery vs. plug-in. Plug-in cameras are cheaper and never need charging. But they must live near an outlet. Battery cameras go anywhere and move in seconds, at the cost of recharging every few months.
- Wide field of view. 120° or more means one camera covers a whole room from a shelf, so you buy fewer cameras.
You don’t need the most expensive camera. You need the one that fits your mounting method.
Placement Tips That Actually Matter
Where you put the camera matters more than which camera you buy:
- Height: around 7–8 feet (2–2.5m) is the sweet spot: high enough to see the whole room, low enough to capture faces.
- Aim at entry points. Front door, back door, ground-floor windows. That’s where 90% of “I wish I’d seen that” moments happen.
- Avoid backlight. Don’t point the camera directly at a bright window, you’ll get a silhouette instead of a face. Angle it so windows are to the side.
- Keep it reachable. Battery cameras need recharging; SD-card cameras need the occasional card swap. Don’t mount it somewhere you’ll need a ladder every month.
- Respect shared spaces. In a shared apartment, tell your roommates about indoor cameras in common areas. In most places it’s legal in your own home, but trust matters more than technicalities. Never point cameras at a neighbor’s windows.
Mistakes to Avoid
- “It’s just a tiny nail hole.” Landlords disagree, and patching fees are real. Don’t.
- Overloading adhesive. A strip rated for 1 lb holding a 1.5 lb camera will fail at 3 a.m. Follow the weight rating with margin.
- Mounting over heat sources. Above a radiator or stove shortens the camera’s life and melts adhesive.
- Forgetting about Wi-Fi. Test the camera’s connection at the mounting spot before committing. That perfect high shelf is useless if the signal dies there.
- Blocking the sensor. Some mounts cover the camera’s motion sensor or microphone hole. Check the live view after mounting, not before.
FAQs
Will adhesive strips damage my paint when I move out?
If you buy quality strips, follow the weight rating, and remove them slowly with heat (a hairdryer works), paint damage is rare. Cheap no-name strips are where horror stories come from.
Can I put an indoor camera in my bedroom?
It’s your private space, so yes, many renters do. Just be thoughtful in shared apartments: cameras in common areas deserve a heads-up to roommates.
Do indoor cameras work without strong Wi-Fi?
They need a stable connection at the mounting spot. If your apartment Wi-Fi has dead zones, fix that first: a camera that can’t upload is just a decoration. (Some buildings use login-page Wi-Fi that smart devices can’t handle; a small travel router solves it.)
Battery or plug-in: which is better for renters?
Plug-in if there’s an outlet within reach of your chosen spot (cheaper, zero maintenance). Battery if you want total placement freedom (no wires at all). Most renters end up with a mix.
What do I do with the camera when I move?
Unstick, unclamp, or just pick it up. Factory-reset it in the app so it’s unlinked from your old Wi-Fi, pack it with your other electronics, and set it up fresh in the new place in about ten minutes.
The Bottom Line
Mounting an indoor camera without drilling isn’t a workaround. It’s just the smarter method. Shelves, adhesive, tension rods, suction cups, magnets, tripods: six options, zero holes, zero deposit risk.
Pick your method, test the angle in the live view, and you’re done. When moving day comes, your camera comes with you in the same box as everything else: no patching, no painting, no awkward landlord conversation.
Now pick your camera: see our Best Apartment Security Cameras for Renters buying guide.
One Comment